Friday, March 1, 2013

A Tale of Two Condos (Part 2)

I recently finished the second of the two condos I've been working on for the last month.  I had a tight budget and a tight deadline in which to complete this one.  The condo needed to be finished by the end of February and I  had a trip scheduled for the last week of February, so I needed to have everything finished before I left town.  I would have made it except the sofa did not arrive before I left town!  Thankfully, I had someone who was willing to meet the moving guy at the condo once the sofa was delivered to my warehouse.  Very seldom do deadlines and  deliveries cooperate with each other which can make life interesting sometimes!

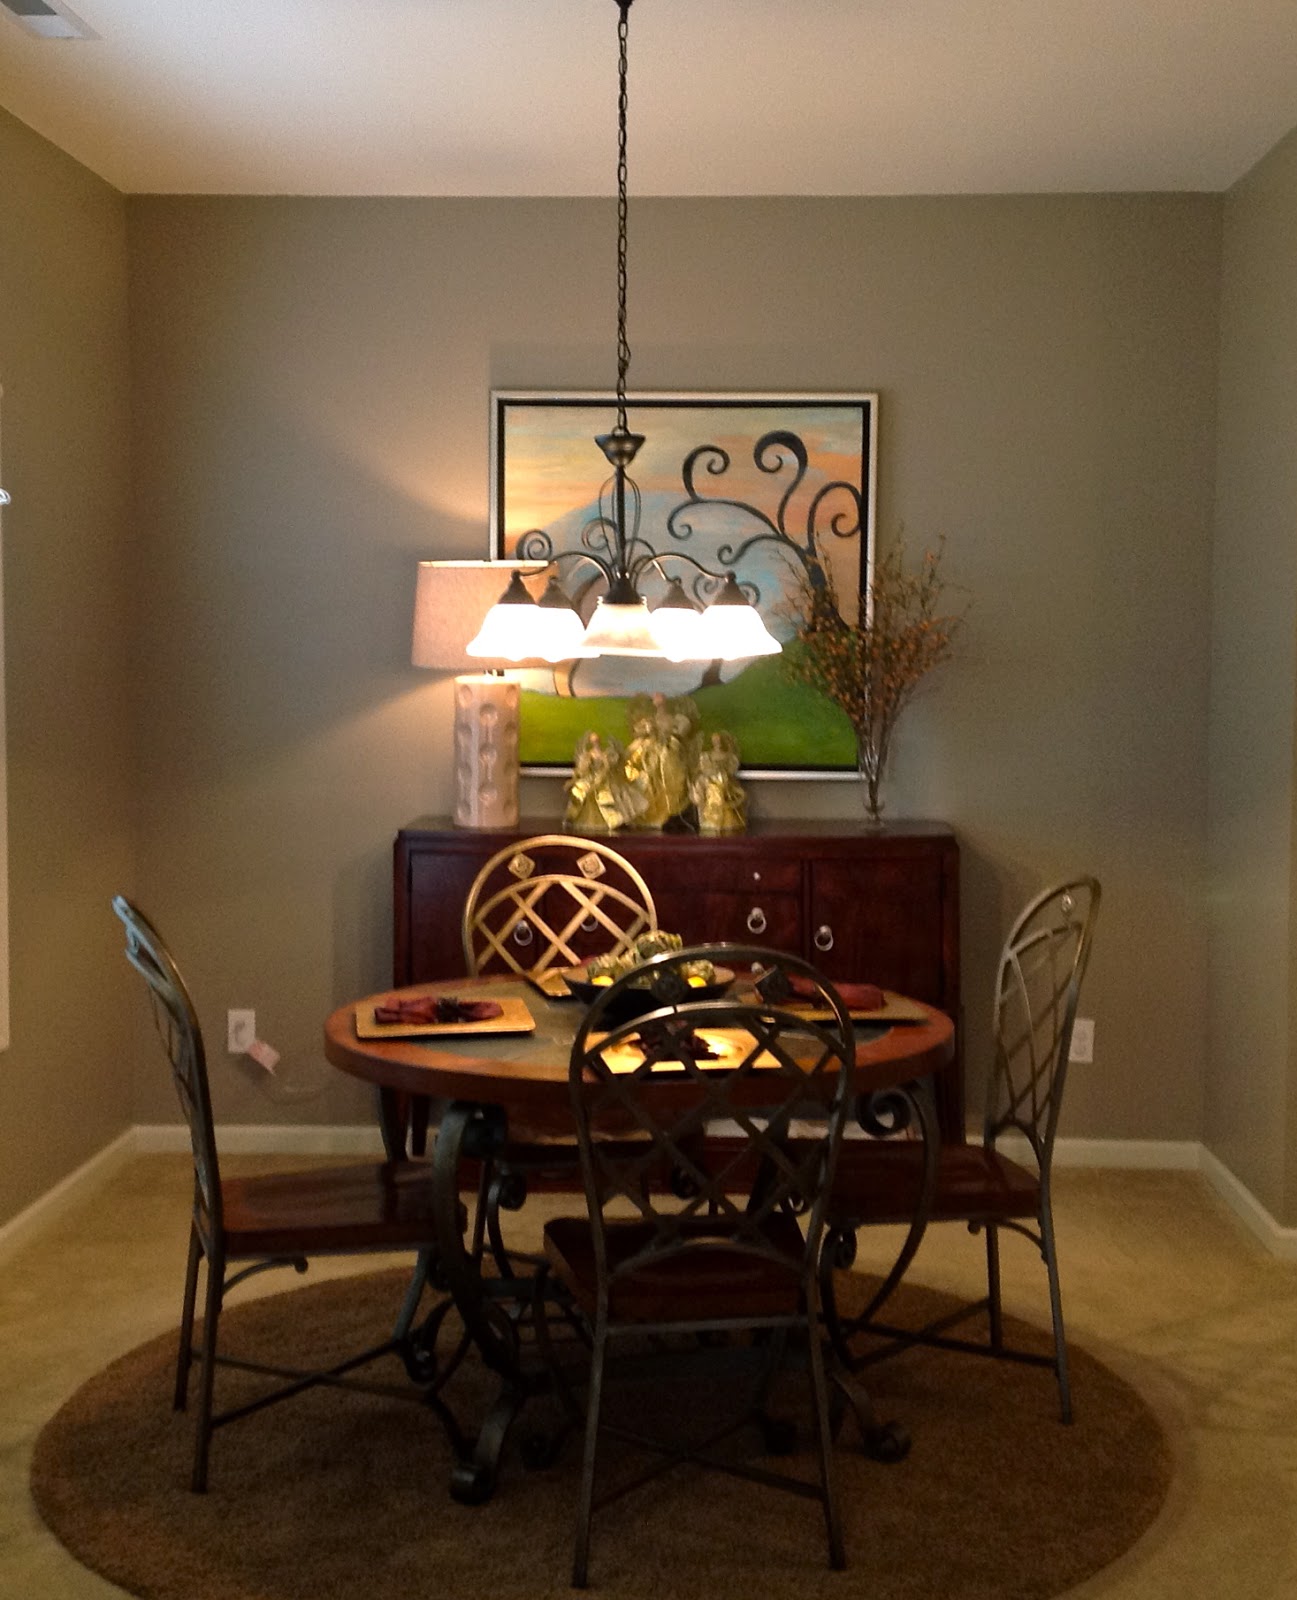
I was very happy and relieved to finally complete this condo.  The colors are some of my favorite: navy and white with accents of yellow.  The sailboat picture over the sofa is another favorite, and one that I have in my own home!  The goal on this project was to design a space that was warm and inviting without breaking the bank. When I walked into the condo today to get these shots I thought, "Yes. This feels warm and inviting".  Mission accomplished!

Here are some shots taken with my iPad, but you'll get the idea:


Tuesday, February 19, 2013

"It's a Wrap!"


Remember last week I mentioned that I was working on two condos.  The image that I shared with you last week showed Condo #1 without a sofa.  The above photo was taken this afternoon, and as you can see, the sofa finally came in, and tonight I am happy to report that this condo is a wrap!  Not only is it a wrap, but it is a nice-looking wrap.  Though this condo is small, we managed to give it a lot of personality without being overkill!  I love the punch of coral color throughout the space!

Hopefully, by the end of the week, I'll have some pictures of Condo #2 ready to show you!


"That's a wrap!"

Wednesday, February 13, 2013

A Tale of Two Condos (Part 1)

Just wanted to drop in and give you a peek at what I've been doing lately.  I am in the middle of staging two condos for a real estate developer.  I am waiting for the sofa to arrive to complete the first condo.  It should be here by the end of the week!  Until then, this is what "Condo #1" is shaping up to look like.


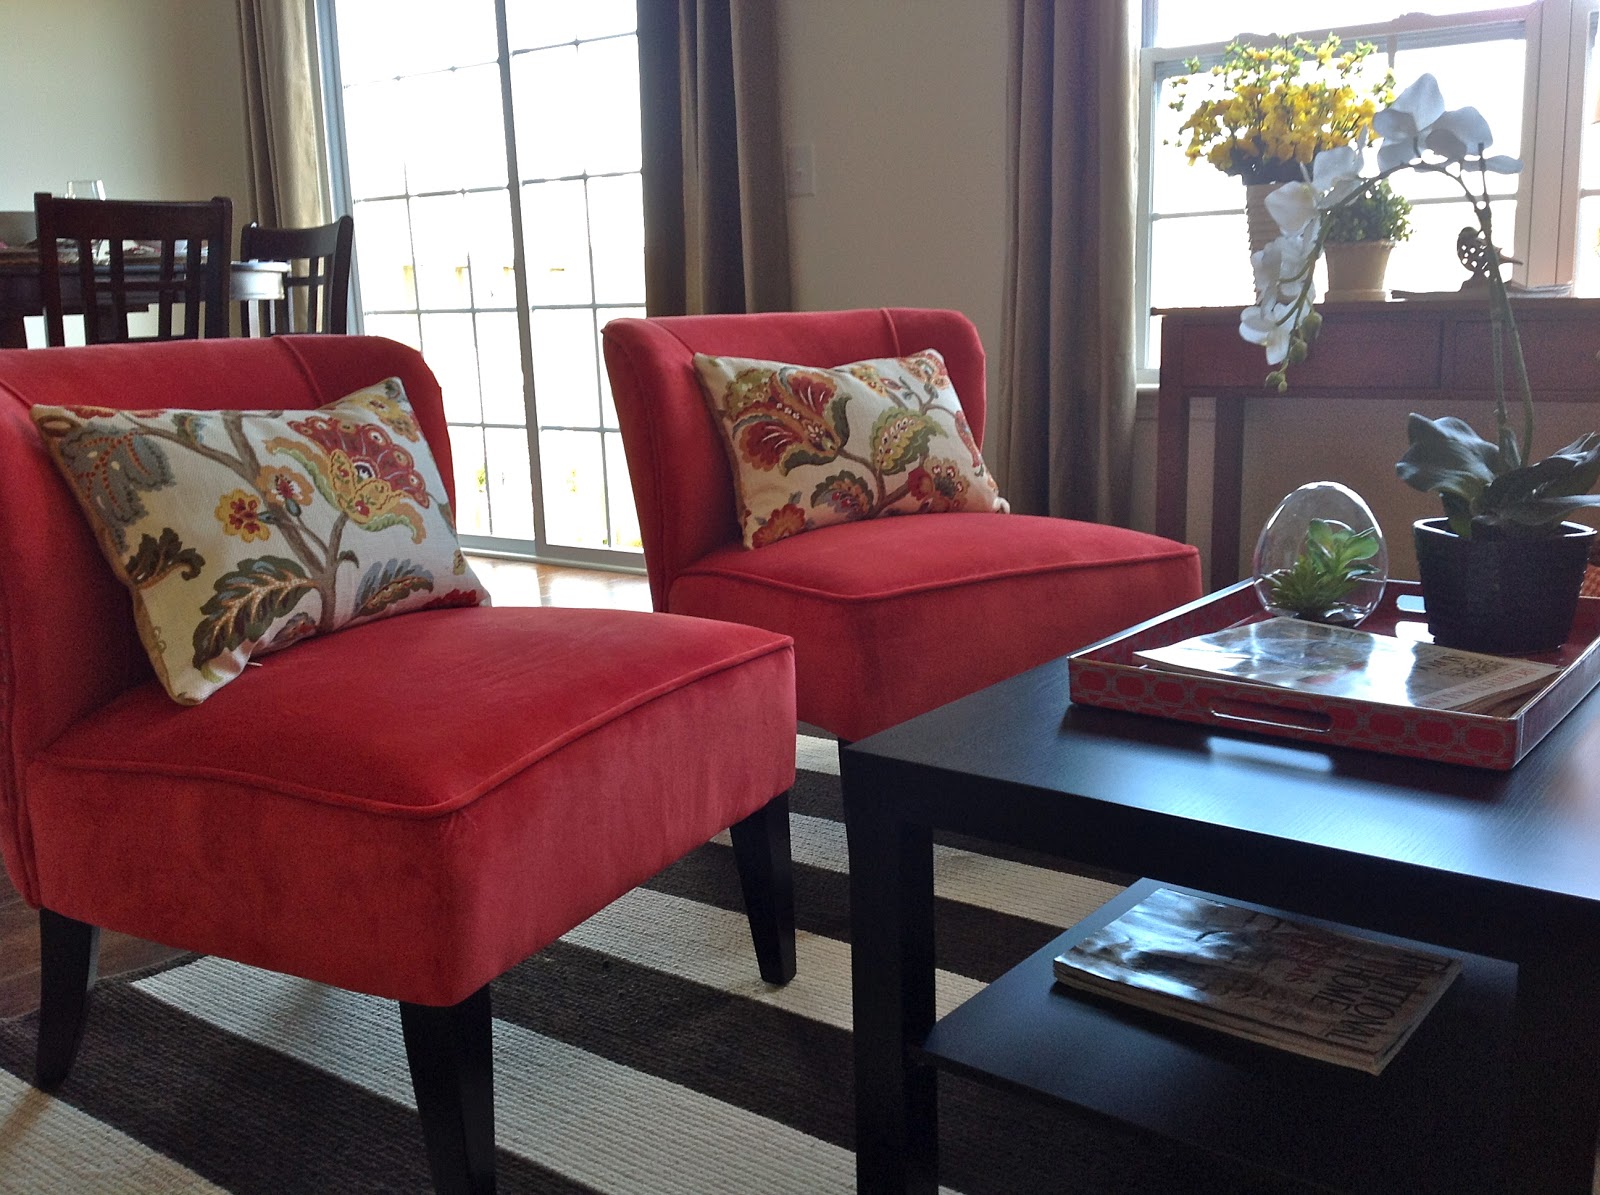
"Condo #1" required some careful space planning because the living area is very tight.  My goal was to choose smaller scale furniture with a lot of personality.  I love these coral chairs with the Cabana stripe rug from Capel Rugs.  

I'll post more pics once the sofa is in place.  In the meantime, I will be working to have "Condo #2" staged by the end of next week!  Stay tuned for those pictures!

Thursday, January 10, 2013

A Second Chance for This Little Bench


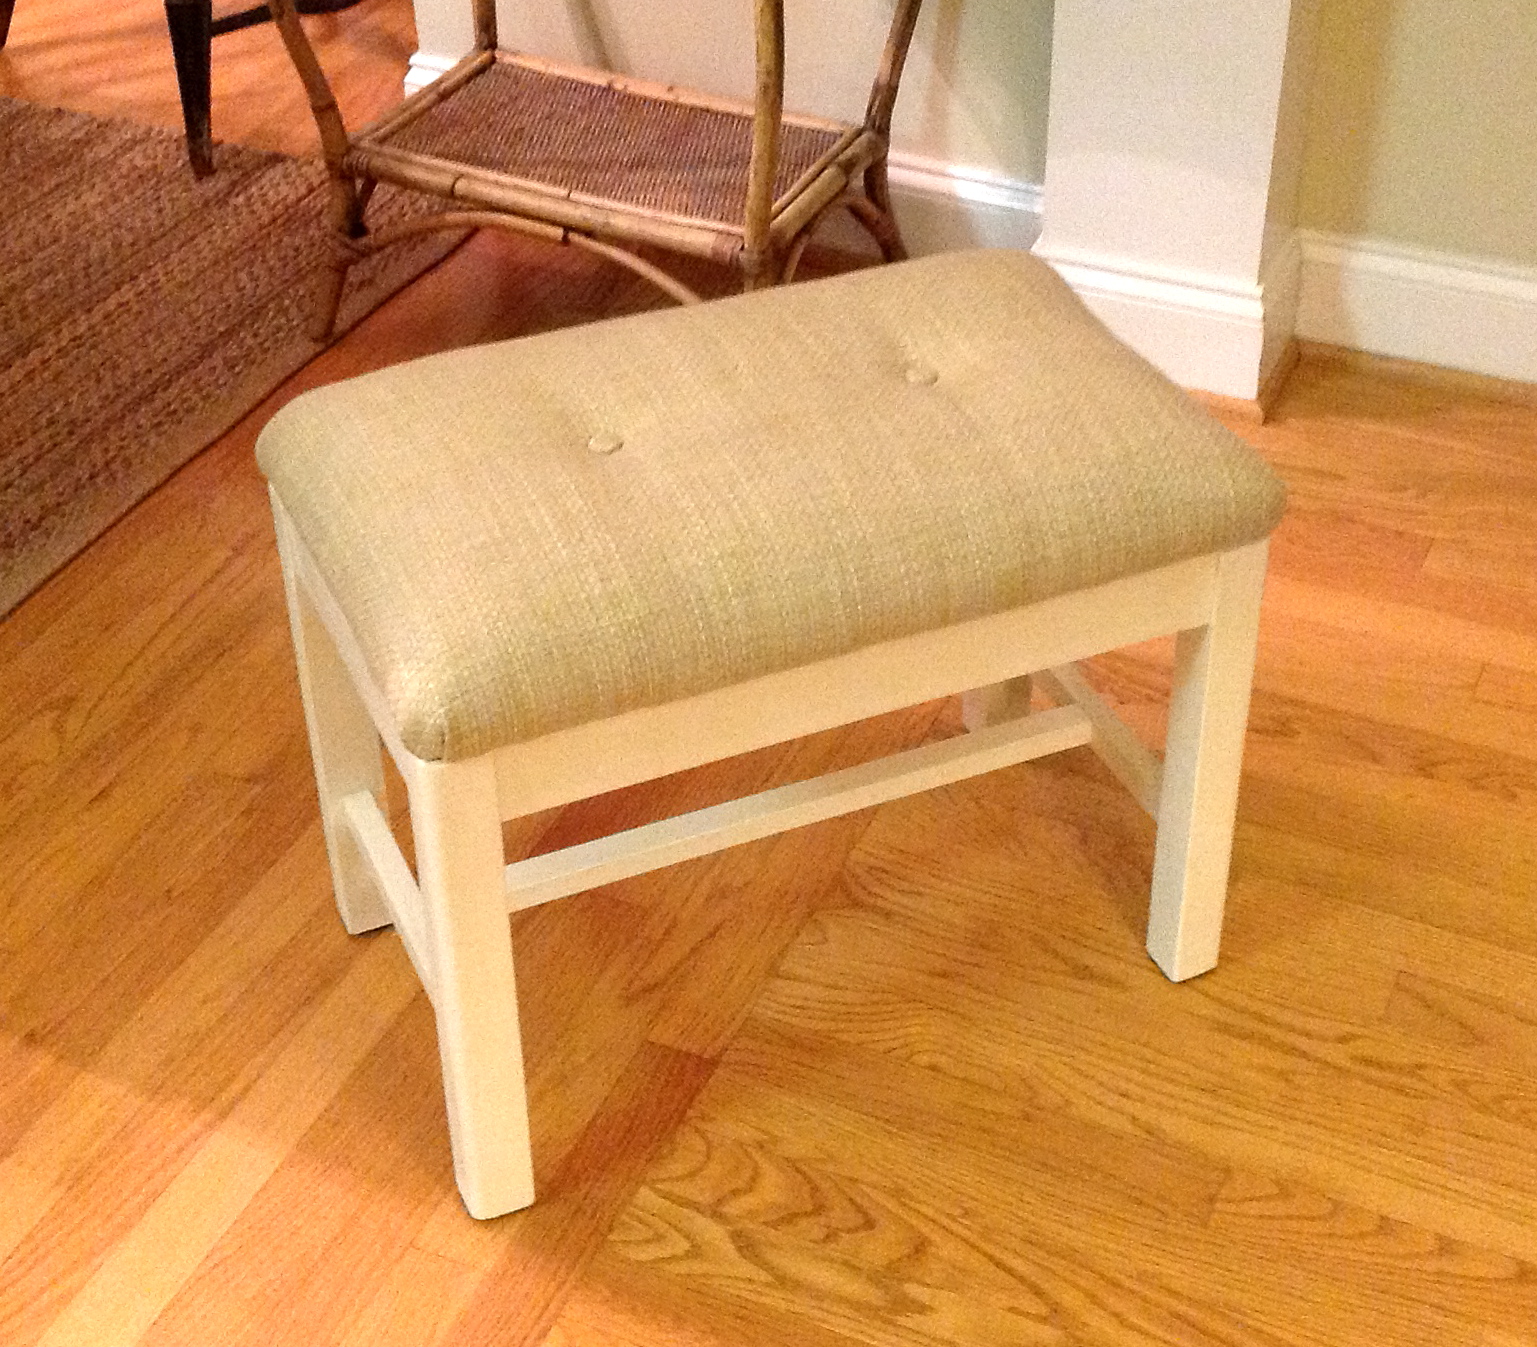
I was recently asked by one of my clients if I could makeover a small bench that had been passed down to her from an aunt.  The bench was very sturdy and we both thought it could make a nice addition to her entryway area as a place to sit down and put on your shoes.  She was thinking maybe a black color, but I encouraged her to stay with a light color that would blend in with the walls, yet stand out against the wood floors.  I will be taking the bench to her tomorrow.  I hope she likes it as much as I do!

Here is the bench before we painted it and added a new cushion.

After selecting the fabric, I gave it a coat of paint using Annie Sloane chalk paint in "Old White".

 My seamstress made the new cushion using a very durable, but comfortable fabric.  I had her add the two buttons to give it just a bit more personality.

Amazing how a little paint and some new fabric can bring new life to an old piece of furniture!  


Tuesday, January 8, 2013

A Staging Project


Just before Christmas, I completed a staging project for a family who was preparing their home to go on the market.  Normally,  I follow up the initial staging consultation with an email to the homeowners giving them a room-by-room checklist of suggested changes for each room.

For this project, the homeowners spent several days of hard work checking items from the list, and I returned to the home the following week to complete the staging.  We spent several hours moving furniture, hanging pictures, and accessorizing.  I brought some of my own artwork, lamps, bedding, and accessories to fill in where necessary.  Other than the things I brought from my own staging supplies, we were able to rearrange and repurpose what the homeowner already had.  The results were so dramatic that the homeowner had second thoughts about selling the home!  Just to give you an idea of the difference staging can make, here are a couple of before and after shots from the first two rooms you see upon entering the house:


                                    The Front Rooms Before Staging
Buyers would have been greeted with this small room that the homeowner used for a sewing room, 

and 

just beyond the sewing room was a "playroom" for the children.  Buyers would certainly have a difficult time imagining themselves in either of these rooms.


After Staging…..


We repurposed the sewing room to become an inviting sitting room by moving the old sewing table to the breakfast room and bringing in these two club chairs and side table from other rooms in the home.  The rug was moved in from the dining room, and I brought the lamp and all of the accessories from my own staging stash to complete this cozy look.  Now, buyers can imagine themselves sitting in this space enjoying a good book!


The old playroom becomes what it was intended to be!  The table and chairs along with the rug was relocated from the breakfast room.  The large piece of art, painted by the homeowner, was moved from the master bedroom and hung over a sideboard that was moved from the family room.  

Now, buyers can visualize the purpose of these rooms and imagine themselves moving right in here!


Monday, January 7, 2013

A Sneak Peek at a Recent Project

I am coming to the end of a big project that began several months ago, and I wanted to give you a sneak preview of some of the "before" and "after" shots.  Though it is hard to see in these poor-quality photos that were taken with my phone, the difference is pretty dramatic.  The biggest part of this project involved helping the client to downsize by getting rid of a lifetime of stuff and reorganizing what remained.  With the exception of a few newly purchased pieces of furniture, we were able to reuse much of what the client already owned.

The above "before" photo of the living/entry area features a very ornate sideboard from Paris that was  purchased by the client many years ago.  The client did not want to hang on to this piece any longer,  so we found an auction company who deals with fine antiques and art pieces to auction this piece off for the client.


This "after" photo shows the walls painted in Benjamin Moore's "Grant Beige" to highlight the client's extensive art collection from his travels around the world.  The large sideboard is gone and I purchased the large, round mirror from Mitchell and Gold to help open up the space.  Everything else you are seeing belonged to the client and was repurposed for this space.


The Library/TV room "before"


The two "before" shots of the Library/TV room give you some idea of the stuff we had to get rid of before we could even think about designing.  The red chair was picked up by a consignment store and the headboard and shelving units were sold on Craigslist.


After a lot of clearing out and organizing, we were able to turn this space into a comfortable and cozy spot for reading and watching television.  The client asked for this comfortable recliner where he could enjoy relaxing with a good book or watching TV.  The large art piece in the background is an Aborigine painting that was purchased by the client on a trip to Australia.


The main living area featured this beautiful bay window that was screaming to become a cozy sitting area!

The area is not quite finished.  I am waiting on two slipper chairs that will flank the sofa, and the phone photo is poor quality, but it already feels much cozier than before.


office "before"


The office pictures show a space that just needs a little organization.


We're getting there!


With just a few finishing touches left, (and some better photography), I will be back in a few weeks to post pictures of the final reveal!  As this project is coming to an end, the client and I are both happy with how the home is shaping up, and best of all, the client finally feels like he has a place he can call home.
  

Thursday, December 6, 2012

A Junkroom Makeover!

Until just a few weeks ago, the room pictured below was so cluttered, I could barely open the door!  When I began staging homes a few months ago, I needed supplies, and I needed a place to store those supplies.  What my family calls the "blue" bedroom was the only room in our home that was unoccupied, so it became the "catch-all" room for all of my staging supplies (and anything else that needed to be hidden away)!


Recently, some of my dear friends, who are expecting a new baby soon, came by to get a rocker that I was giving them for their new nursery.  Unfortunately, the rocker was being stored in the "blue" bedroom, and we could barely push the door open to get into the room.  It was all I could do to make a path for us to get our hands on the  rocking chair!  It was just plain embarrassing to have a room that was so out of control!  As soon as my friends drove away with the rocker, I got busy clearing out and organizing the room.  (I sort of felt like the Little Engine that Could as I carried one item at a time out to the garage). Many of the items I used for decorating the "new" room were some of my staging items such as the adorable twin headboards that were beautifully handcrafted by my very talented seamstress, Kay!  She does such beautiful work!  She also made the drapery panels, that had previously been used in a bedroom with nine-foot ceilings, so they are going to have to be hemmed.  The brown and white striped rug is from Capel Rug Outlet in Blowing Rock, NC.  The wicker trunks are from Ikea.  The bedspreads were purchased from Pottery Barn about 15 years ago for my daughter's room!  I turned them to the reverse side for this room.  I purchased the small vanity that sits between the beds at an antique shop many years ago and painted it white.  The floral pillows are from Etsy.  The throws at the end of the bed were purchased from Eastern Accents on the final day of the Fall furniture market.  They were having a big sale, and I thought these were really cute for a great price.  They have a chevron pattern that you can't see in this picture.

I wish I had some "before" pictures of the space, but I never even thought about taking pictures of such a big mess.    Hard to believe it's the same room now!  My first thoughts when I look at these pictures is, "Whew! What a relief!"