Sunday, March 11, 2012

The Grove Residence


  This past weekend I had the pleasure of staging a home for the Grove family.  They are putting their home on the market to sell, and they asked if I would redesign most of the rooms so the house would show well.  They will be having an open house next weekend leaving little time for redecorating.  Budget was also a concern for this young couple, so they decided to hire an interior designer to come in and stage their home.  Statistics have shown that homes that are professionally staged sell on average in 29 days or less, compared to homes that are not staged which take an average of 145 days to sell.  The small investment that a seller makes to stage their home will be much less than the inevitable price reduction that comes when the home sits on the market for an extended time. 
      In just one afternoon, and without investing a lot of money, the Grove home was transformed into a space that is warm and inviting and is move-in ready!  The pictures below should speak for themselves as to the difference that staging makes for those critical first impressions.  When a buyer enters the Grove home, they will easily be able to visualize themselves living here! 

The Foyer
Without staging, this would be the first impression buyers 
would have when they entered the Grove home.  

Instead, this is what buyers will see!  Love the rug!


    Could this be the same foyer?!  Staging makes all of the difference!

The empty Foyer makes it harder
for potential buyers to imagine themselves
living here.
What a dramatic transformation to this space!  
   
       
          The Living Room
The Grove's living room before we arrived for a staging session.
In just a short time, the room was transformed to look like this! 
Staging is such an inexpensive way to breathe new life into your space.  I took advantage of the flowers that were blooming in the Grove's back yard to accessorize these tables in their living room.  Above is a bowl of peonies.  Below are some cherry blossoms from their Cherry tree.
                                            

The Master Bedroom
Above, the Master bedroom before it was staged.


We added bedding, draperies, artwork, and we accessorized

 the nightstand making the room instant cozy!

We used what they already had to accessorize the dresser.

The artwork over the bed, which was painted by
  Mrs. Grove's sister, helped to personalize the space.


The Guest Bedroom
The picture above shows the Guest bedroom before.

After, this room received the same treatment as the Master bedroom.   
In addition to the bedding, we added the blue and white striped
 rug giving the room a more classic feel.

The antique dresser was updated with a coat of paint.


The Dining Area 


Thank you, Grove family!  (Better start packing)!


Wednesday, December 7, 2011

Fall Semester Projects

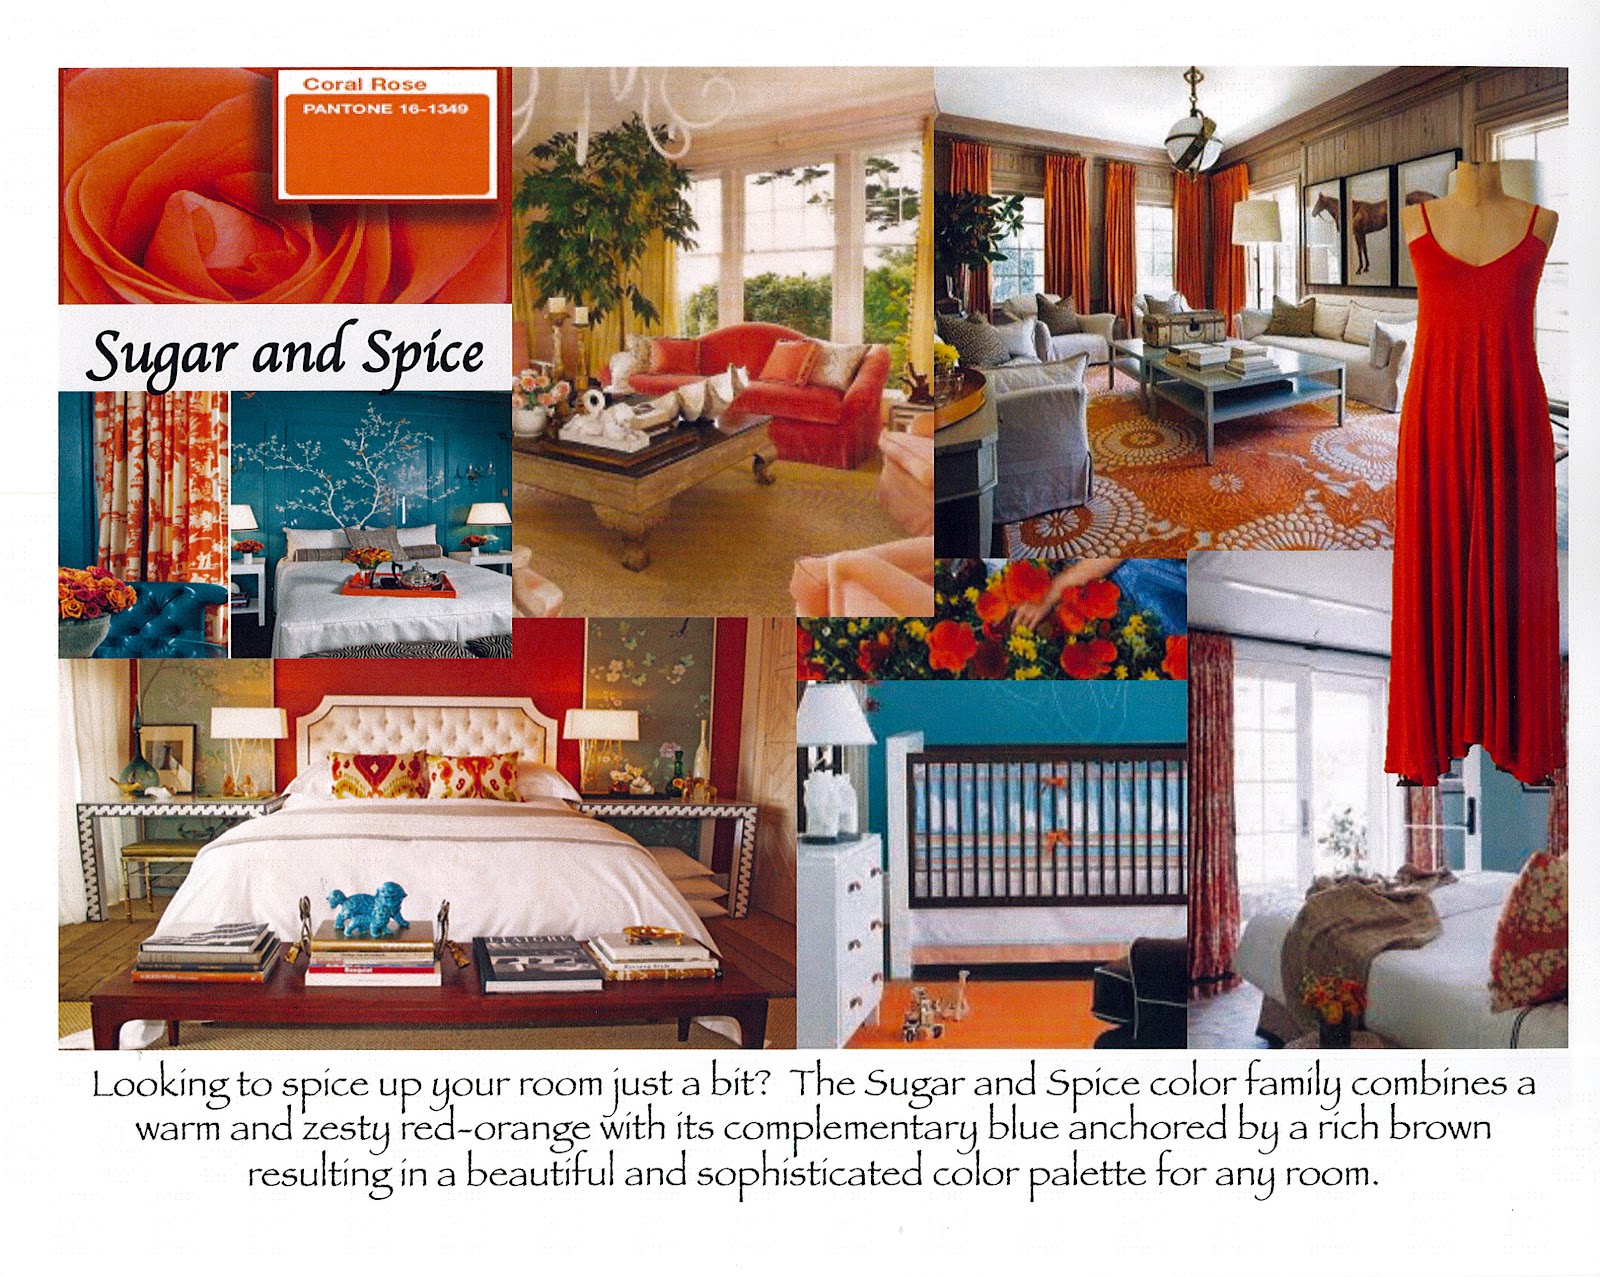
Here we are!  It's the end of the semester, and I have lots of projects to share!  The first one I have is a Color Trend project that I put together for my Textiles class.  We were asked to come up with our own company and put together four "color stories" for our company that represented the textile color families that are trending right now.  I decided that my company would manufacture baby bedding and I called the company "The Silk Cocoon".  Each of my color "stories" depicts the colors I might choose if I were designing four different baby nurseries.


Textile Project


Commercial Project

In our Commercial II class, we completed two big projects.  The first was a contest sponsored by "Sephora", a high-end cosmetic retail store.  We were challenged to design a "pop-up" retail space for them.  A "pop-up" retail is a temporary venue.  The trend is for these stores to "pop up" one day and disappear soon after.  A good example of a pop-up store is the Halloween pop-up stores you see at the mall for several weeks leading into Halloween.  During the Christmas holidays, for example, you may have seen pop-up retail stores that sell Moravian Sugar Cookies.  These temporary stores are becoming more popular in this slow economy as more and more retail spaces are being vacated at shopping malls and downtown shopping areas.  

The parameters of this project included a thousand square-foot space that comprise a cash wrap, display fixtures, and a Beauty Studio that was designed to easily be assembled and disassembled for a quick relocation.  They also wanted us to incorporate a connection to Sephora's online presence by integrating computers into the design.  We were required to use the "Sephora" logo and their pantone red color as well as their iconic black and white stripes.  Finally, the project was to be bound into a booklet that was no more than six pages front and back. 


 I designed my "pop-up" Sephora to be located at the high-end Outlet Malls such as the Tanger Outlets that are located near my home.  There would be an internet bar in the store where the customers could sit down and have a "virtual makeover" at the computer.  When each customer was finished, she would receive a print-out of the products that were selected for her skin type, and she would hand the print out to one of the sales people, who would help her find the products on her list.  My fixtures and cash wrap were made of a lightweight plastic and clear acrylic pieces that were easy to assemble.  The following is a sampling of my final book:


Residential Project

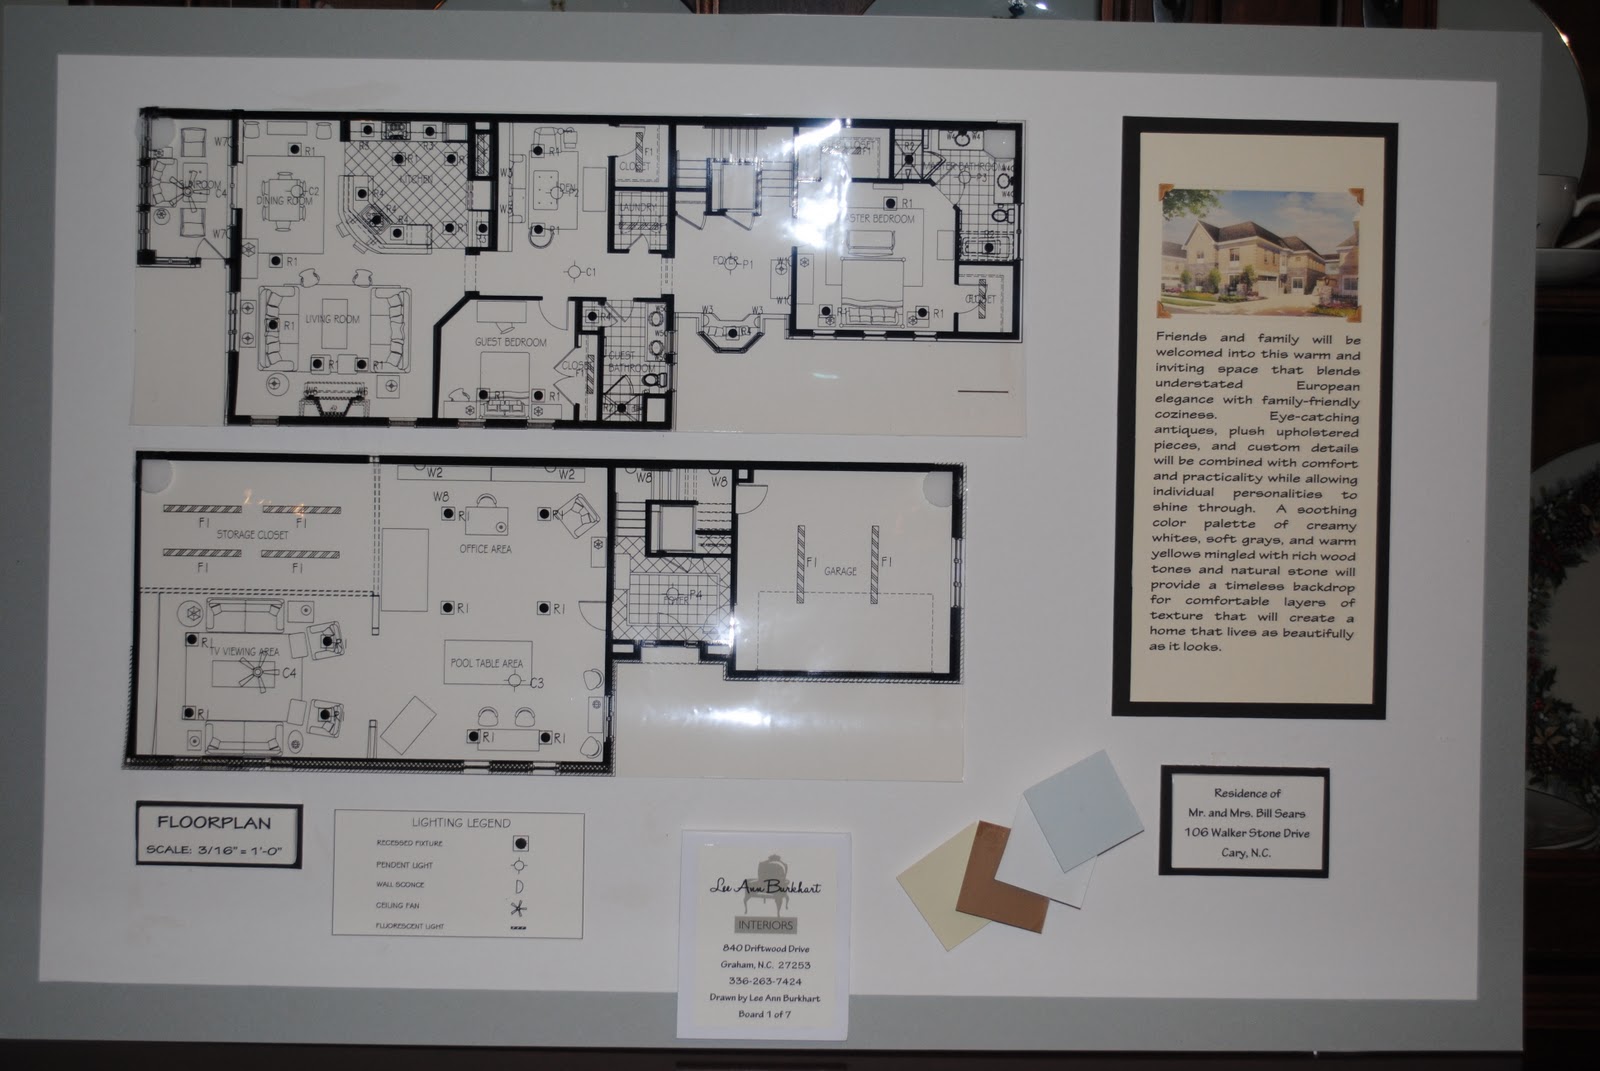
I was very relieved and happy to complete the Commercial project because I did not enjoy the process at all.  I was much more excited about the Residential project for this semester.  We designed a home for a retired couple who live in Cary, NC.  They are building a home in a new retirement community there.  After interviewing the wife, we found out that she enjoys reading and crafts.  Her design taste is very traditional and she especially likes French Country design.  She wanted the color palette to be soft and muted.  Overall, she was looking for a comfortable and relaxed space that would be pretty as well as functional.  
We were asked to design the space "from the ground up".  We chose all of the furniture, fabrics, and finishes, as well as space planning the furnishings.  I hand-rendered most of the drawings on the boards, but  I designed and rendered the Den Perspective and the Master Bedroom Elevation through a computer-generated program called "Podium".  I designed and rendered the sunroom using Sketchup.   Tomorrow morning, I will meet with Mrs. Sears again to show her my designs.  She will be free to use any part of the design when she and her husband began building their new home next month.  Here are the seven boards that I will be showing her! 


Board 1 shows the floor plan, the Reflected Ceiling Plan, and the Design Concept Statement.


Board 2 includes the Den Perspective and the Foyer elevation along with the fabrics, furnishings, and finishes for those two spaces.


Board 3 Shows the Living Room Perspective.


Board 4 is showing the Master Bedroom elevation and the Master Bath finishes and fixtures.                                                

Board 5 is the Basement Perspective along with the Downstairs Foyer furniture and finish selections.


Board 6 shows her Kitchen Elevation and the Dining Room selections.


Finally, Board 7 is showing the Sunroom Perspective and the Guest Bedroom and Guest Bath furnishings and finishes.


Tuesday, July 26, 2011

Summer Semester Projects

Tomorrow is the last day of a pretty intense ten weeks of Summer School!  My daughter photographed the four Residential Presentation Boards that I will be presenting tomorrow morning so I thought I would post them here!  I designed the Living Room/Dining Room Perspective using Sketchup, and I color rendered it by hand.  The four elevations of the den, the kitchen, the master bedroom, and the master bathroom were drawn using AutoCad and color rendered by hand.  We put these drawings along with the fabrics, furnishings, and finishes onto four presentation boards to present to the class.

We also completed a Commercial project that I presented today.  We were asked to design the corporate headquarters for Marquis Seating in High Point, NC.  The images that I've posted are the Lobby and the Open Office area which were done in Sketchup.

Here are the pics!


Residential Project:


Commercial Project: